Getting married is an exciting, chaotic, amazing time in life. After the wedding, it’s finally time to decompress and get back to “normal”, which for many couples means simultaneously finishing grad school, moving, starting a family, and managing the moms pestering you to “order your album already!!”
Some couples will be able to immediately narrow the cream of the crop pics, and order their album within a month of the wedding. Let me assure you, those couples are very rare! If you’re not one of them, try these editing tips. There are methods for the web-savvy, the analog, and the “all-of-the-above” among you!
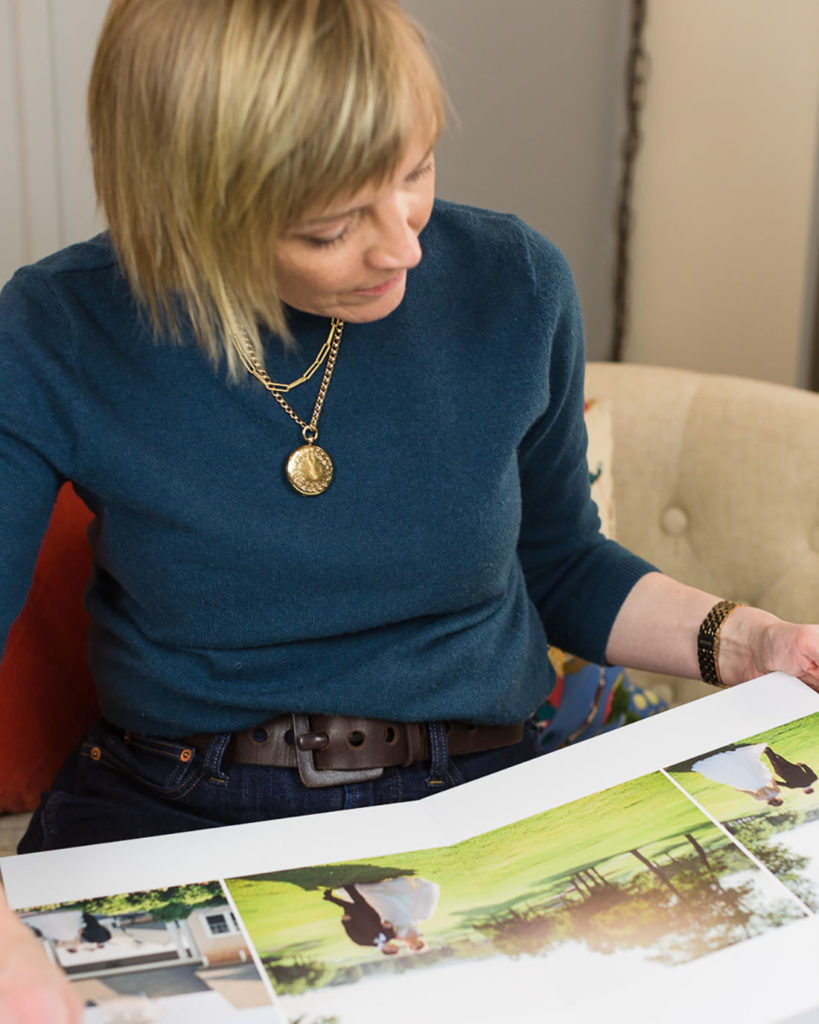
It’s so much fun to relive the wedding and look through the photos right away, but lots of couples tell me that they struggle to narrow their images down to the essence of the wedding. It’s true that editing is the hardest part of album planning. Let’s face it: most of us are awful at looking at photos of ourselves objectively. I know I am! Your job is to do your best to pretend you’re not in the picture. Is it a good composition? Does it add to the story you’re telling? My job is to help you craft a beautiful book by doing as much or as little of the editing and design process as you want me to.
Digital – Lightbox
For the couple that prefers paperless, using the lightbox function in your website of wedding proofs is great. Back in ye olden days, editors would hover over a lighted table, called a lightbox, in a darkened room to review slides and determine which images were worthy of print, and which hit the circular file. Now, you can simply click “add to lightbox” when you find an interesting image. When you’re done adding images, you will be able to view all the photos you selected in one place. To narrow your selections even further, look for images that are similar, and keep only the best, until finally, your list is just right. When you’re all done, simply send it with me by clicking “Share” while you’re in the lightbox. A drop-down will appear and you can select my name from the “Photographer/Image Owner” list. Done! From there, I can see your choices, and start your album design.
Analog – Prints
Many of you purchased a DVD of images with your package. This gives you the option of printing loads of images for personal use. If you love to work with paper, try printing out the photos you’re considering for your album, and mix & match til you find the combination that works best. Keep eliminating images that are similar or tell the same story until you have the best of the best, and your wedding timeline is complete.
More Editing Ideas
- All-of-the-above – Do some sorting on lightbox to get a manageable number of photos, then use prints to sort and finalize your selections.
- Still too many amazing images? That’s a good problem to have. Consider upgrading to a Modern Fine Art album that starts with 100 pages instead of a Traditional album that starts with 20 pages. If you know you want more images, why fight it?
- Call Laura. If editing is too painful, I can really speed the process by creating a layout from my own edit, or your list of favorites. From there, all you’ll need to do is add, swap, or delete from the design I’ve made. Most albums are designed within 3 revisions! Then sit back and wait for your beautiful custom album to arrive!


